There’s nothing quite like the satisfaction of a freshly cooked meal—until you turn around and face the aftermath. Grease splatters on the stovetop, a sticky film on your oven door, and caked-on grime on your range hood can turn your post-cooking high into a cleaning nightmare. Many of us reach for store-bought kitchen degreasers, drawn by their bold claims of “instant grease removal.” But these products often come with a hidden cost: harsh chemical fumes that irritate your lungs, skin-drying ingredients, and a price tag that adds up over time. What if there was a better way? Homemade kitchen degreasers, crafted from common pantry staples, offer a natural, effective, and budget-friendly solution to even the toughest greasy messes. In this guide, we’ll break down why homemade is the way to go, share our top tested recipes, and give you pro tips to tackle every greasy corner of your kitchen.
Why Choose Homemade Kitchen Degreasers?
Before we dive into the recipes, let’s take a moment to understand why homemade degreasers are a great choice. From safety to sustainability, the benefits are hard to ignore.
Safer for Your Family and Pets
Store-bought degreasers are loaded with harsh chemicals like ammonia, sodium hydroxide, and synthetic fragrances. These ingredients can release toxic fumes that trigger asthma or allergies, especially in young children, the elderly, or pets with sensitive respiratory systems. When you use these products, you’re not just cleaning your kitchen—you’re introducing potentially harmful substances into the air your family breathes. Homemade degreasers, on the other hand, rely on natural ingredients like baking soda, vinegar, and castile soap, which are non-toxic and gentle on skin. You can even let your little ones help with light cleaning tasks without worrying about accidental exposure to dangerous chemicals.
Budget-Friendly
Think about how often you buy a new bottle of kitchen degreaser. A single bottle can cost $5–$10, and if you cook frequently, you might go through one every month or two. Over the course of a year, that’s $60–$120 spent on a product that’s mostly water and chemicals. Homemade degreasers use ingredients you already have in your pantry: baking soda, vinegar, lemon juice, castile soap. A box of baking soda costs less than $2, and a bottle of vinegar is around $1. You can make dozens of batches of degreaser with just one of each, cutting your cleaning costs by 90% or more. It’s a small change that adds up to big savings over time.
Eco-Friendly
The environmental impact of store-bought cleaning products goes beyond their chemical ingredients. Most come in plastic bottles that end up in landfills or oceans, taking hundreds of years to decompose. Homemade degreasers, however, can be stored in reusable spray bottles (you can even repurpose old ones from store-bought products) and use biodegradable ingredients that don’t harm aquatic life when washed down the drain. By choosing homemade, you’re reducing your carbon footprint and doing your part to keep the planet clean—one greasy stovetop at a time.
Customizable to Your Needs
Not all grease messes are created equal. A light splatter on your microwave is very different from caked-on grime on your oven racks. Store-bought degreasers are one-size-fits-all, but homemade solutions can be tailored to tackle specific messes. Need an abrasive scrub for tough oven grime? Add more baking soda to your paste. Want a degreaser that leaves a fresh scent? Drop in a few essential oils. Have a sensitive surface like marble? Skip the vinegar and use a castile soap-based recipe. The flexibility of homemade degreasers means you can create a solution that works perfectly for your kitchen’s unique needs.
Top Homemade Kitchen Degreaser Recipes for Every Greasy Situation
Now that you know why homemade degreasers are a great choice, let’s get to the good stuff: our top tested recipes. Each one uses common ingredients and is designed to tackle a specific type of grease mess. Whether you’re dealing with a light splatter or a heavy-duty build-up, there’s a recipe here for you.
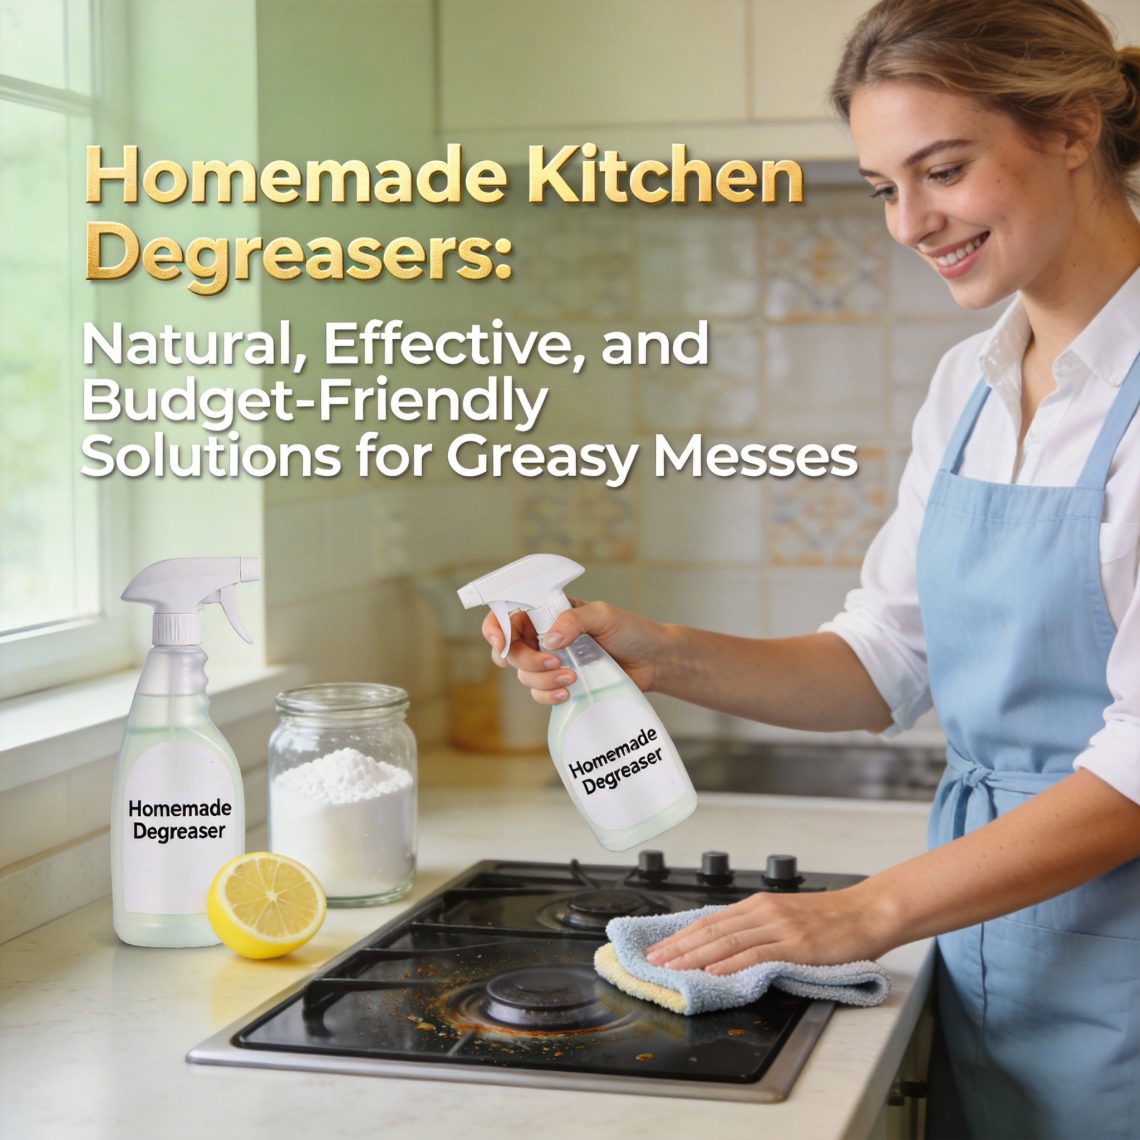
1. Baking Soda and Vinegar Degreaser: The All-Purpose Workhorse
Baking soda and vinegar are a classic cleaning duo, and for good reason. Baking soda is a mild abrasive that lifts grease and grime, while vinegar is a natural acid that breaks down sticky oils. Together, they create a fizzing reaction that helps loosen even stubborn messes. This recipe is perfect for everyday use on stovetops, countertops, and range hoods.
Ingredients:
- ½ cup baking soda
- ¼ cup white vinegar
- 1 gallon warm water (optional, for a spray bottle)
- Reusable spray bottle or bowl
- Scrub brush or microfiber cloth
Instructions:
- For a paste (tough messes): In a bowl, mix baking soda with a small amount of water (start with 2–3 tablespoons) until you form a thick, spreadable paste. The consistency should be similar to peanut butter.
- For a spray (light messes): Fill a spray bottle with warm water and white vinegar in a 4:1 ratio (4 parts water, 1 part vinegar). Add 1 tablespoon of baking soda—note that the mixture will fizz, so don’t cap the bottle immediately. Wait for the fizzing to stop before screwing on the lid.
- Apply the paste or spray to the greasy area. For tough build-up, let it sit for 10–15 minutes to give the ingredients time to break down the grease.
- Scrub the area with a brush or cloth, focusing on any caked-on spots.
- Wipe clean with a damp cloth and dry with a towel to prevent streaks.
Pro Tip: For extra stubborn grease, spray the area with vinegar first, then sprinkle baking soda on top. Let the fizzing do its work for 10 minutes, then scrub and wipe clean.
2. Castile Soap and Lemon Degreaser: Gentle Yet Powerful
Castile soap is a natural, plant-based soap that’s gentle on surfaces but tough on grease. When combined with lemon juice—another natural degreaser and deodorizer—it creates a degreaser that’s perfect for delicate surfaces like cabinet doors, microwave interiors, and stainless steel appliances. The lemon also leaves a fresh, citrusy scent that cuts through cooking odors.
Ingredients:
- 2 tablespoons liquid castile soap (unscented or lemon-scented)
- ¼ cup fresh lemon juice (or 2 tablespoons bottled lemon juice)
- 2 cups warm water
- Reusable spray bottle
- Microfiber cloth
Instructions:
- Combine castile soap, lemon juice, and warm water in a spray bottle. Shake gently to mix.
- Spray the solution onto the greasy surface. For light messes, you can wipe it immediately. For heavier build-up, let it sit for 5–10 minutes.
- Wipe the area with a damp microfiber cloth. For stainless steel, wipe in the direction of the grain to avoid streaks.
- Buff dry with a clean towel for a shiny finish.
Pro Tip: If you don’t have lemon juice, you can use 5–10 drops of lemon essential oil instead. It will give you the same fresh scent without the acidity, making it safe for surfaces like marble or granite.
3. Baking Soda and Hydrogen Peroxide Degreaser: For Oven Racks and Heavy-Duty Grime
Oven racks are some of the hardest surfaces to clean in the kitchen. Grease and food particles build up over time, creating a thick, sticky layer that’s nearly impossible to scrub off. This baking soda and hydrogen peroxide paste is designed to break down that tough grime without the harsh fumes of oven cleaners.
Ingredients:
- 1 cup baking soda
- ¼ cup hydrogen peroxide (3% concentration, the kind you find in the first aid aisle)
- Plastic gloves (optional, to protect your hands)
- Plastic bag or large container
- Scrub brush
- Water hose or sink
Instructions:
- Remove the oven racks from your oven and place them in a large plastic bag or container.
- In a bowl, mix baking soda and hydrogen peroxide to form a thick paste. If the paste is too thick, add a little more hydrogen peroxide; if it’s too runny, add more baking soda.
- Spread the paste evenly over the oven racks, making sure every inch is covered.
- Seal the bag or cover the container with plastic wrap and let the racks sit overnight (or for at least 6 hours). The longer they sit, the easier it will be to remove the grime.
- The next day, take the racks outside (or to your sink) and rinse them with warm water. Most of the grime will wash away easily.
- For any remaining spots, scrub with a brush and rinse again.
- Let the racks dry completely before putting them back in the oven.
Pro Tip: If you don’t have a large bag or container, you can lay the racks on a tarp or old towel, cover them with the paste, and wrap them in plastic wrap. This works just as well and is a good option if you’re short on space.
4. Cornstarch Degreaser: Dry Cleanup for Fresh Grease Spills
When you’re cooking, it’s easy to get grease splatters on your stovetop or countertops. If you clean them up immediately, you can avoid the mess from setting in. Cornstarch is a great dry degreaser that absorbs grease quickly, making it easy to wipe away without leaving a sticky residue.
Ingredients:
- Cornstarch
- Paper towels or microfiber cloth
Instructions:
- As soon as you notice a grease splatter, sprinkle a thick layer of cornstarch over the entire area. Make sure the cornstarch covers all the grease.
- Let the cornstarch sit for 5–10 minutes. It will absorb the grease and turn from white to a yellowish color.
- Wipe the cornstarch away with a paper towel or cloth. The grease should come off easily, leaving the surface clean and dry.
- If there’s any remaining grease, repeat the process or follow up with a spray of vinegar and water.
Pro Tip: Cornstarch also works great on greasy fabric, like kitchen towels or aprons. Sprinkle it on the stain, let it sit, then launder as usual.
Pro Tips for Using Homemade Kitchen Degreasers Effectively
Even the best homemade degreaser won’t work if you don’t use it correctly. Here are some pro tips to help you get the most out of your natural cleaning solutions:
- Let it sit: Grease takes time to break down. For tough messes, let your degreaser sit for 10–15 minutes (or overnight for oven racks) before scrubbing. This will reduce the amount of elbow grease you need to use.
- Use the right tools: Microfiber cloths are great for wiping away grease without leaving streaks. For tough grime, use a non-abrasive scrub brush. Avoid steel wool on delicate surfaces like glass or stainless steel.
- Test on a small area first: Before using any homemade degreaser on a new surface, test it on a hidden spot. This is especially important for sensitive surfaces like marble, granite, or wood cabinets.
- Tackle messes when they’re fresh: Grease is easier to clean up when it’s still warm. If you can, wipe down your stovetop or countertops right after cooking to avoid it setting in.
- Layer products for heavy grease: For really tough messes, start with a vinegar spray to break down the grease, then apply a baking soda paste to scrub it away. Finish with a castile soap spray to remove any remaining residue.
Customizing Your Homemade Degreasers
One of the best things about homemade degreasers is that you can customize them to fit your preferences. Here are some ways to make your degreasers work even better for you:
Add Essential Oils for Scent and Extra Cleaning Power
Essential oils not only add a fresh scent to your degreasers but also have natural cleaning properties. Here are some of our favorites:
- Tea tree oil: Has antifungal and antibacterial properties, making it great for cleaning cutting boards and food preparation surfaces.
- Orange oil: A natural degreaser that leaves a bright, citrusy scent. Perfect for stovetops and oven racks.
- Lavender oil: Has a calming scent and is gentle on sensitive skin. Great for cleaning cabinet doors and microwave interiors.
- Lemon oil: Similar to lemon juice, it’s a natural degreaser and deodorizer. Works well on stainless steel surfaces.
To use essential oils, add 5–10 drops to your spray bottle or paste. Just make sure to choose high-quality, pure essential oils—synthetic ones won’t have the same cleaning benefits.
Adjust Strength for Tough Messes
If you’re dealing with a particularly greasy mess, you can make your degreaser stronger by increasing the amount of abrasive or acidic ingredients. For example:
- Add an extra ¼ cup of baking soda to your paste for oven racks.
- Use a 1:1 ratio of vinegar to water for a stronger spray (great for range hoods).
- Add a tablespoon of kosher salt to your baking soda paste for an extra abrasive scrub (perfect for burnt-on food on stovetops).
Safety Notes to Keep in Mind
While homemade degreasers are generally safe, there are a few important safety tips to remember:
- Never mix vinegar and bleach: This combination creates chlorine gas, which is toxic and can cause severe respiratory problems. If you’ve used bleach on a surface, wait at least 24 hours before using a vinegar-based degreaser.
- Keep hydrogen peroxide out of reach of children: Hydrogen peroxide can irritate skin and eyes if not used properly. Store it in a cabinet where kids can’t reach it.
- Wear gloves if needed: While most homemade degreasers are gentle, some people may have sensitive skin. If you’re using hydrogen peroxide or baking soda paste for extended periods, wear plastic gloves to protect your hands.
- Store homemade solutions properly: Most homemade degreasers will last for 1–2 weeks in a cool, dark place. Label your spray bottles with the ingredients and expiration date to avoid confusion.
Conclusion
Kitchen grease doesn’t have to be a source of frustration. With homemade kitchen degreasers, you can tackle even the toughest messes using natural, budget-friendly ingredients that are safe for your family and the planet. Whether you’re using a baking soda and vinegar paste for your stovetop, a castile soap and lemon spray for your cabinets, or a hydrogen peroxide mixture for your oven racks, these recipes are just as effective as store-bought products—without the harsh chemicals or high cost.
The best part? You don’t have to be a cleaning expert to make them. All you need is a few common pantry items and a little patience. So the next time you’re faced with a greasy mess, skip the store-bought bottle and give one of these homemade degreasers a try. Your kitchen, your wallet, and the planet will thank you.
Remember: Start small, test on a hidden spot first, and don’t be afraid to customize the recipes to fit your needs. With a little practice, you’ll be able to create a homemade degreaser that works perfectly for your kitchen’s unique messes.